Yep. another CAI completed.
 11-07-2005, 06:24 PM
#1
Junior Member
Thread Starter

Join Date: Aug 2002
Posts: 0
Likes: 0
Received 0 Likes
on
0 Posts

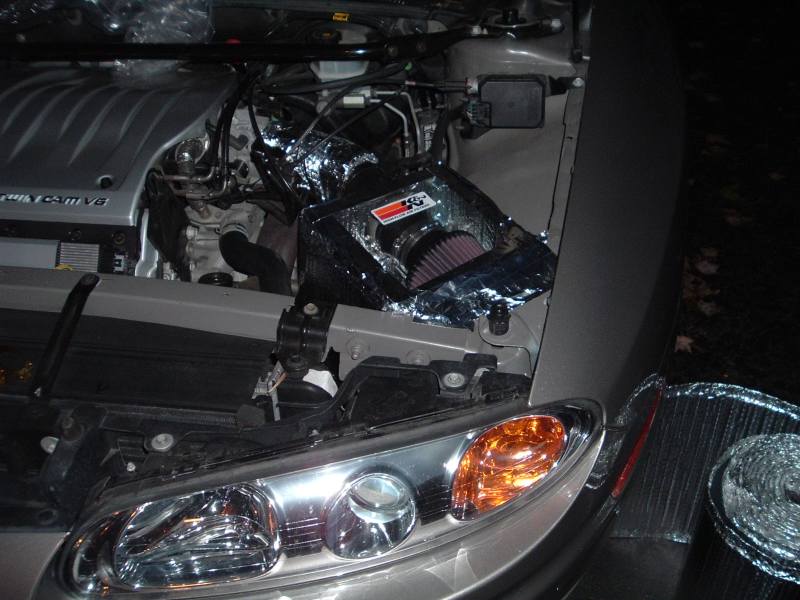
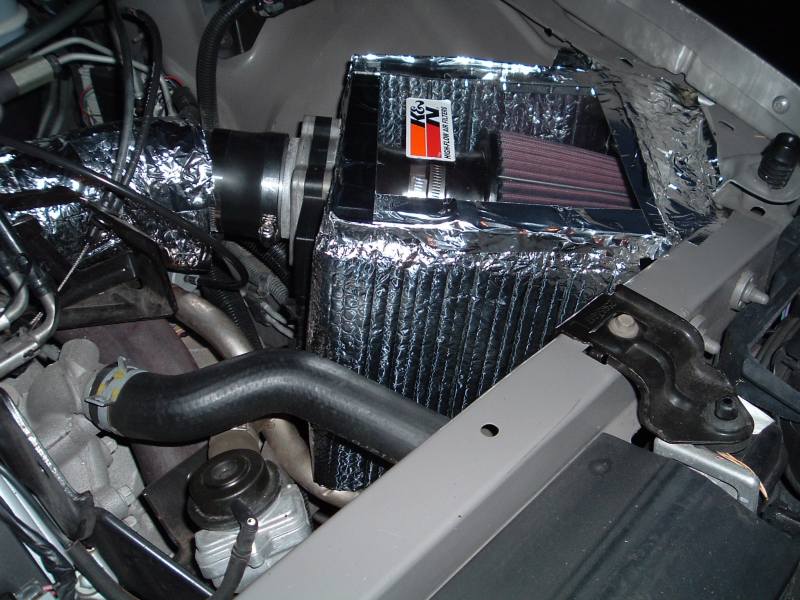
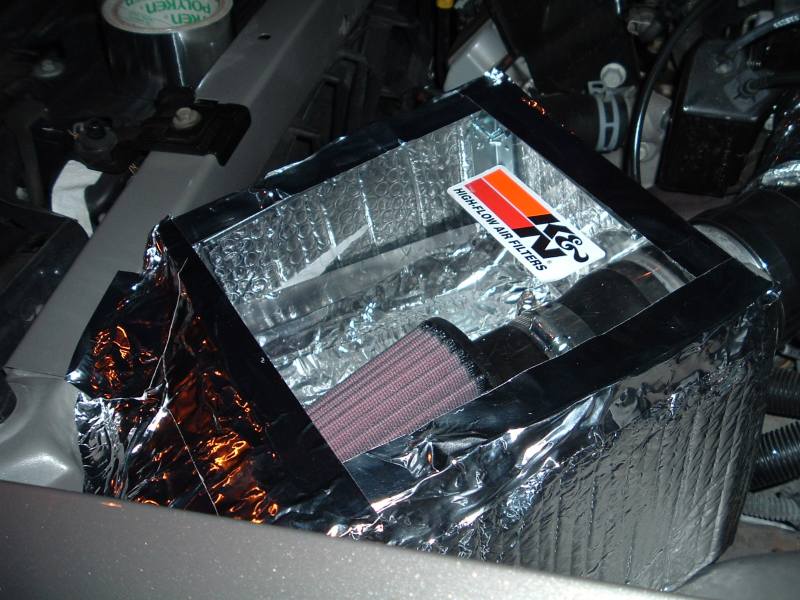
Well, the cold air intake is now complete! (like everyone else who also did one right about now.  ) I spent right around 4 hours fabricating a plexiglass box to put around the airbox and PCM. The plexiglass was kind of a pain to work with. It kept cracking on me. :( I finally ended up melting/cutting it with a soldering iron then snapping it to make my 'cuts.' The airbox was then wrapped in reflectix which is a heat insulator. The airbox is totally sealed from the engine bay and it draws in air from directly behind the headlight just like stock, plus the small 2x1 inch hole on the side of the fender which also goes directly behind the fender. Total cost was somewhere around $140 or so..


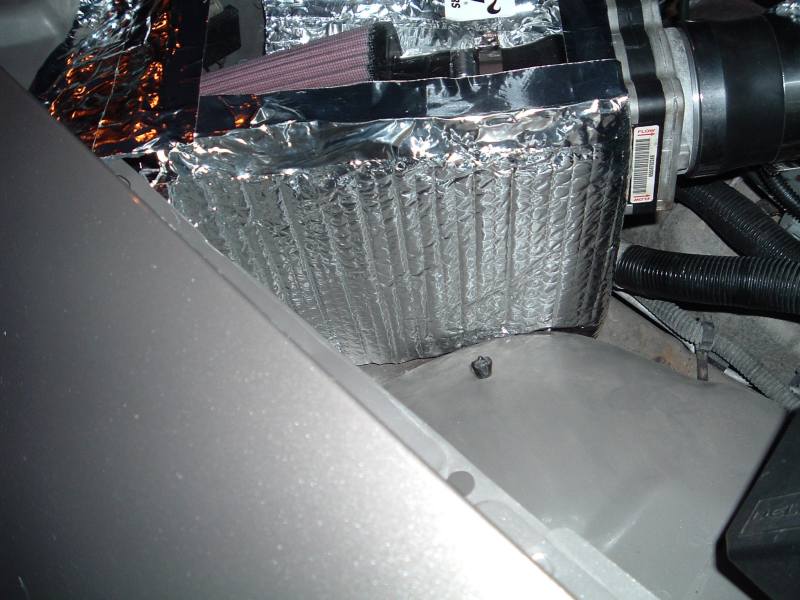
The airbox goes down so far to totally protect the PCM from engine bay heat/water and to not let you see the wire harness coming from the PCM

It looks really great in person and overall I'm pleased with how it turned out, and the nice difference in performance!
And finally, a video of what the engine now sounds like:
http://media.putfile.com/Auroraintake
The airbox goes down so far to totally protect the PCM from engine bay heat/water and to not let you see the wire harness coming from the PCM
It looks really great in person and overall I'm pleased with how it turned out, and the nice difference in performance!
And finally, a video of what the engine now sounds like:
http://media.putfile.com/Auroraintake
 11-07-2005, 06:41 PM
#3
Junior Member
Thread Starter
Join Date: Aug 2002
Posts: 0
Likes: 0
Received 0 Likes
on
0 Posts
Originally Posted by dbeast420
Looks great.
I want to do plexi too but,it'* so freakin expensive. Would wood look "ghetto"????
I want to do plexi too but,it'* so freakin expensive. Would wood look "ghetto"????
 11-07-2005, 06:44 PM
#4
Senior Member
Certified Car Nut
Join Date: Aug 2004
Location: My reclining computer chair
Posts: 11,269
Likes: 0
Received 0 Likes
on
0 Posts
Originally Posted by Custom88
Originally Posted by dbeast420
Looks great.
I want to do plexi too but,it'* so freakin expensive. Would wood look "ghetto"????
I want to do plexi too but,it'* so freakin expensive. Would wood look "ghetto"????
 11-07-2005, 06:55 PM
#5
Senior Member
Posts like a Camaro

Join Date: Jan 2003
Location: Jenison, MI (Near Grand Rapids)
Posts: 1,070
Likes: 0
Received 0 Likes
on
0 Posts
I watched the video. That'* a really good sound. 
dbeast420: Wood might look Ghetto. I thought of doing that myself. I have some sheet polycarbonate, but I still thought of wood, because it'* so easy to work with.
You could build like a mini-casket out of mahogany, complete with a hinge on the side for access. Have the head end open for headlight air, and the foot end drilled for the intake tube, and you're good to go.
11-07-2005, 08:17 PM
#6
Senior Member
Certified Car Nut
Join Date: Aug 2004
Location: My reclining computer chair
Posts: 11,269
Likes: 0
Received 0 Likes
on
0 Posts
Originally Posted by theJMFC
I watched the video. That'* a really good sound.
dbeast420: Wood might look Ghetto. I thought of doing that myself. I have some sheet polycarbonate, but I still thought of wood, because it'* so easy to work with.
You could build like a mini-casket out of mahogany, complete with a hinge on the side for access. Have the head end open for headlight air, and the foot end drilled for the intake tube, and you're good to go.
11-07-2005, 10:42 PM
#7
Senior Member
Posts like a Northstar

Join Date: Jan 2003
Location: Northern KY
Posts: 511
Likes: 0
Received 0 Likes
on
0 Posts
Thats what I think i going to end up doing is making it out of some wood and sand it round the sides. I was thinking that I could make a slit on the inside edege so it cound be completely closed but easely slid open and even removed completely if needed.
For the finishing touch I will probibly paint it the color of the car or some thing to complement it.
For the finishing touch I will probibly paint it the color of the car or some thing to complement it.
 11-07-2005, 10:54 PM
#9
Junior Member
Thread Starter
Join Date: Aug 2002
Posts: 0
Likes: 0
Received 0 Likes
on
0 Posts
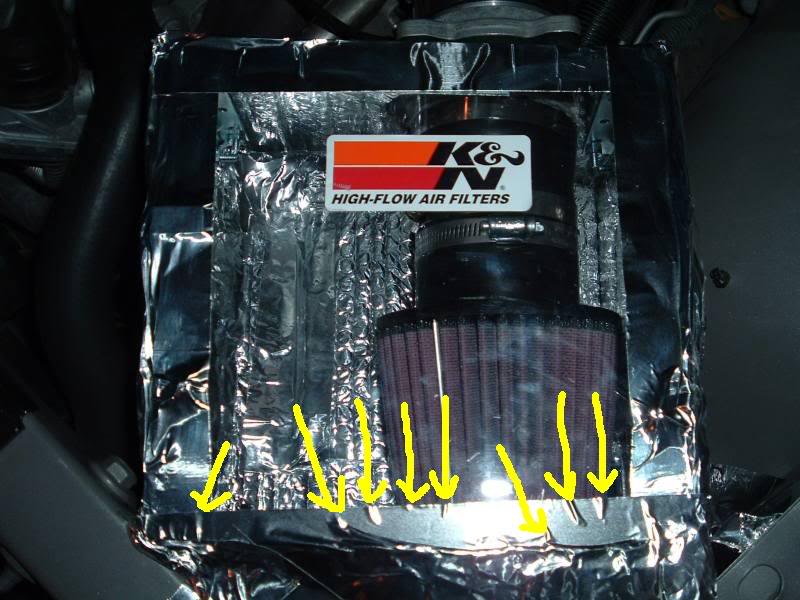
thanks  The wrinkles you see are from the screws holding the top securely into place. (I made it so if you remove two screws the top cover can slide forward and out for access to the filter.) The two wrinkles slightly further back are brackets holding the "lid/top" down tightly in the back. )
The wrinkles you see are from the screws holding the top securely into place. (I made it so if you remove two screws the top cover can slide forward and out for access to the filter.) The two wrinkles slightly further back are brackets holding the "lid/top" down tightly in the back. )
11-07-2005, 10:58 PM
#10
Originally Posted by Custom88
thanks The wrinkles you see are from the screws holding the top securely into place. (I made it so if you remove two screws the top cover can slide forward and out for access to the filter.) The two wrinkles slightly further back are brackets holding the "lid/top" down tightly in the back. )
The wrinkles you see are from the screws holding the top securely into place. (I made it so if you remove two screws the top cover can slide forward and out for access to the filter.) The two wrinkles slightly further back are brackets holding the "lid/top" down tightly in the back. )