Made some changes to the interior
 04-18-2010, 06:37 PM
#1
Senior Member
Posts like a Northstar
Thread Starter
Join Date: Dec 2006
Location: SW Florida
Posts: 699
Likes: 0
Received 0 Likes
on
0 Posts

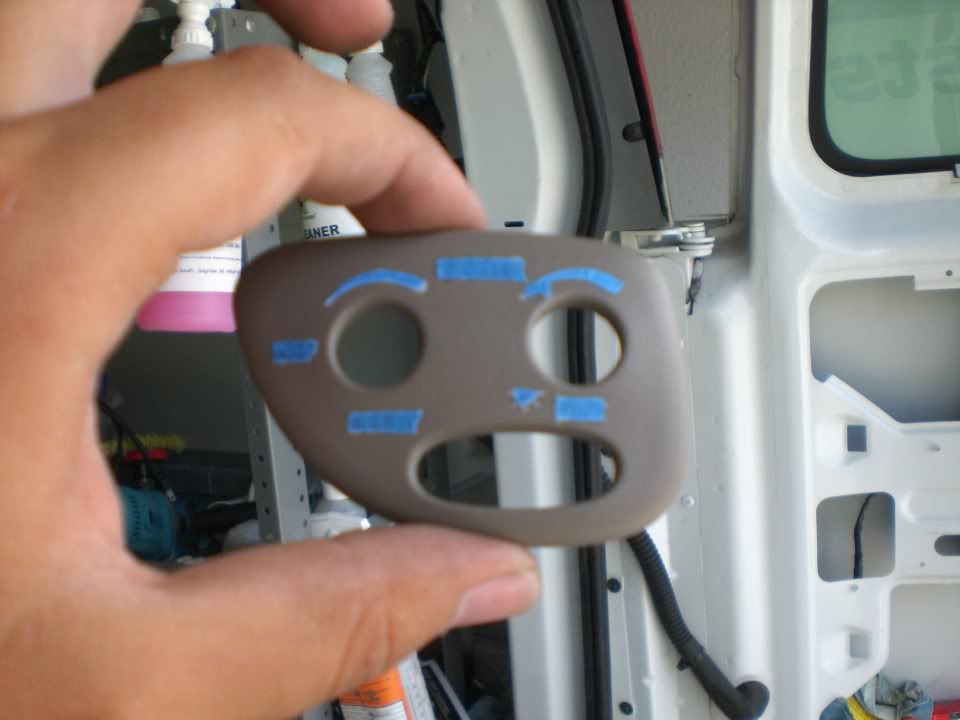
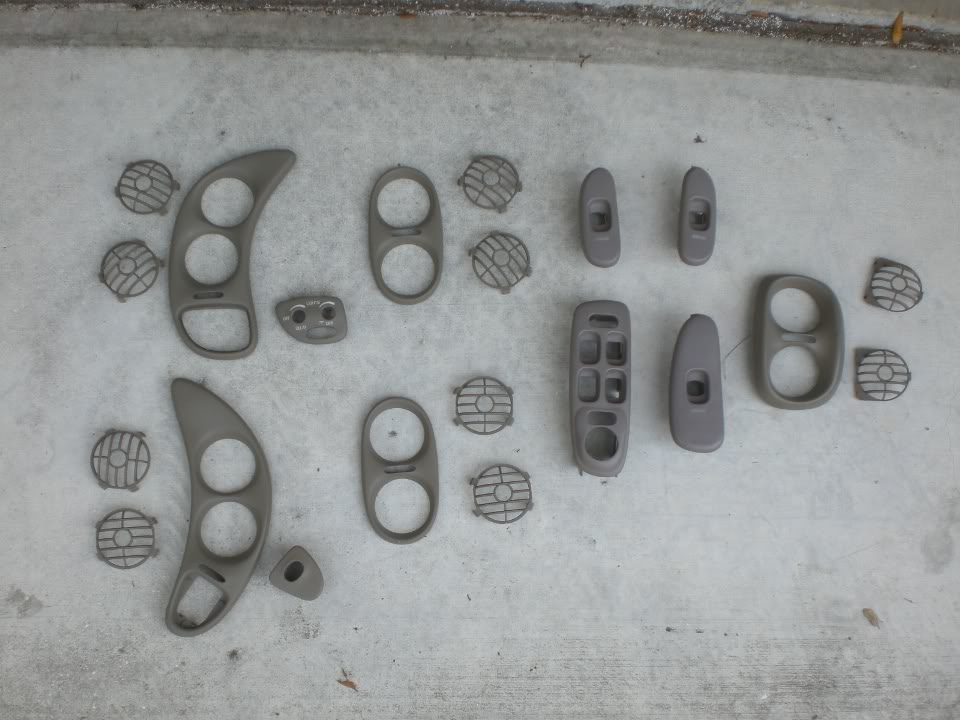
Well just as an experiment the other day I decided to pull all these pieces out of my car to change the color:
I decided to go with a black color to see how I would like it, and ended up using 'Lincoln Black' for a dye...the interior dye I use is made for plastic, vinyl, and leather and is a water based dye.
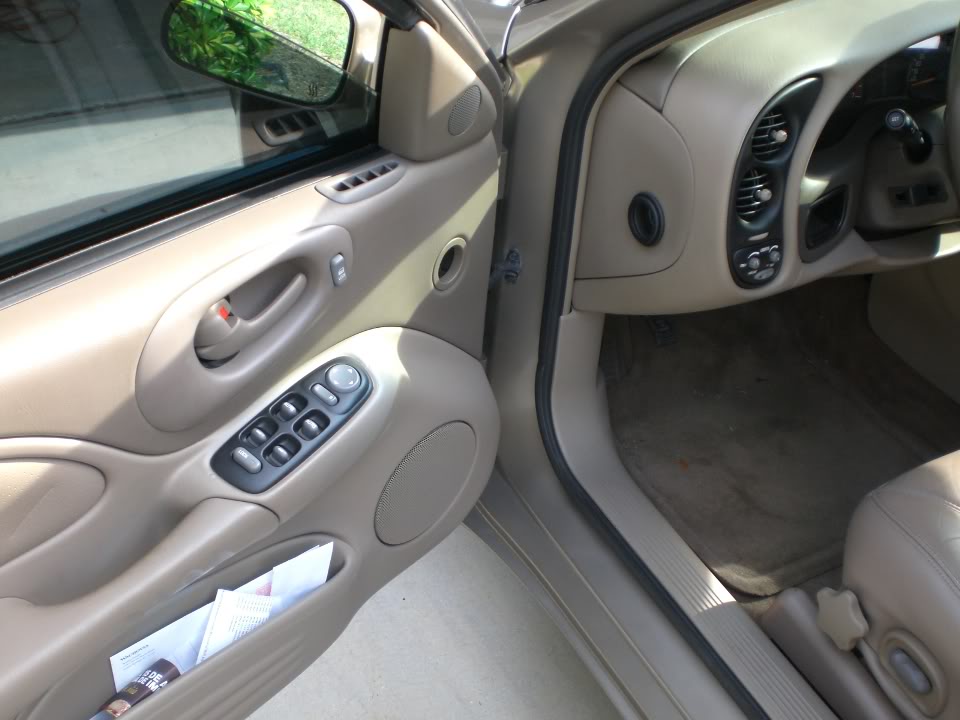
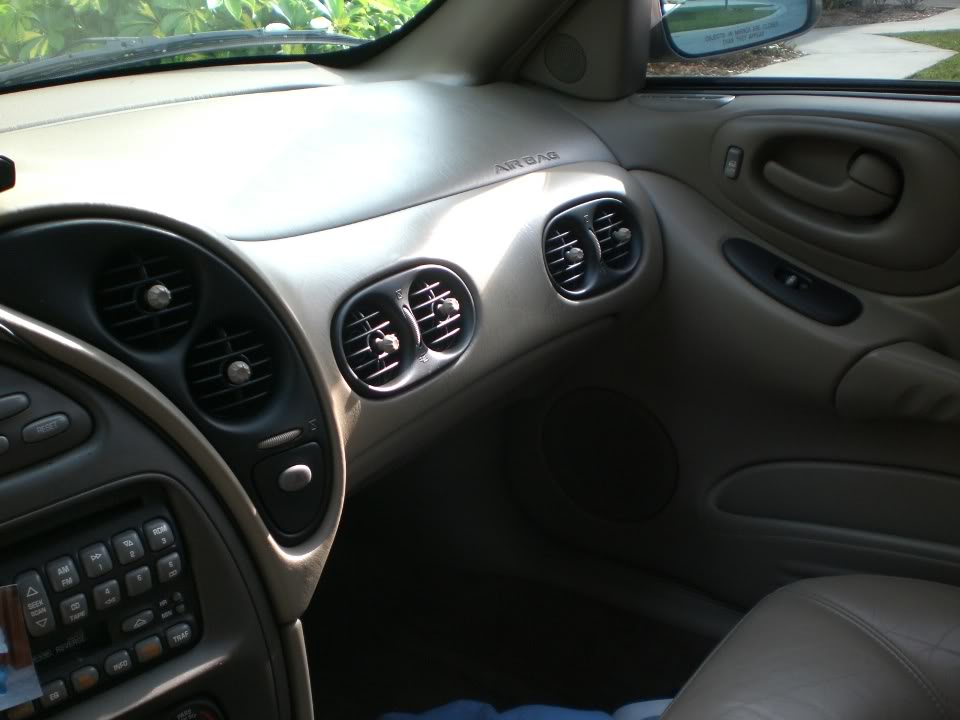
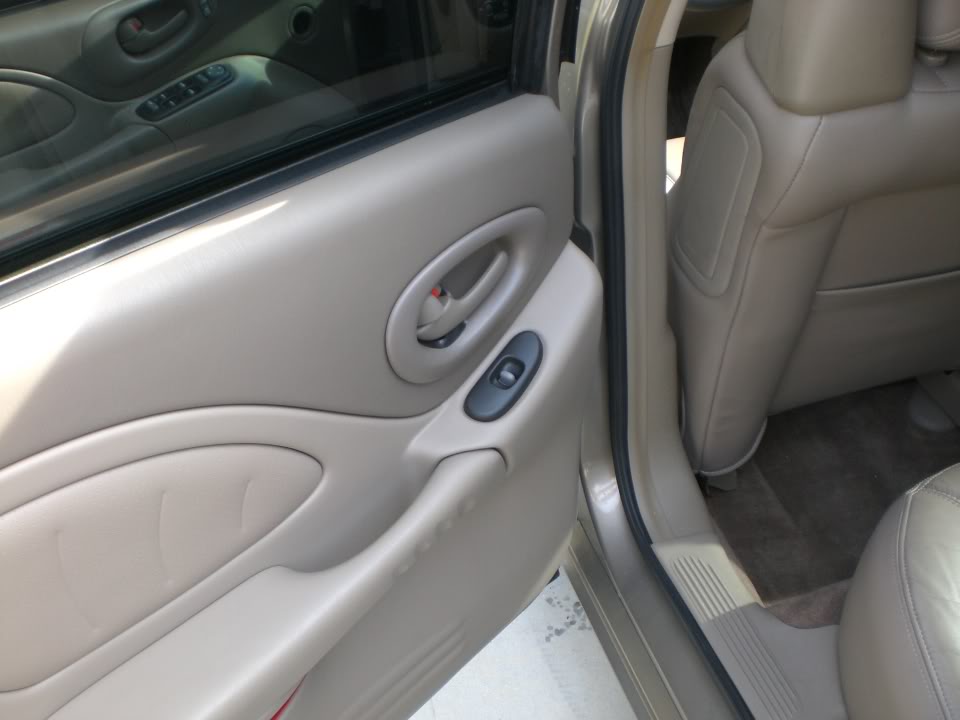

I am not sure how I like it yet..I am either going to change the trim around the gauges/shifter to the same color, or I might mix up something to match the trim around the gauges which is a darker tan/brown and re-do the pieces I did.
I decided to go with a black color to see how I would like it, and ended up using 'Lincoln Black' for a dye...the interior dye I use is made for plastic, vinyl, and leather and is a water based dye.
I am not sure how I like it yet..I am either going to change the trim around the gauges/shifter to the same color, or I might mix up something to match the trim around the gauges which is a darker tan/brown and re-do the pieces I did.


 04-18-2010, 08:21 PM
#8
Artist

True Car Nut
Dang it and I thought I was gonna be the first to spray a set of vents black. Ahh well always good to know what they look before I do it. Good job man
Edit: did you repaint the white lettering on the rheostat or did you tape it off?
Edit: did you repaint the white lettering on the rheostat or did you tape it off?
04-18-2010, 08:46 PM
#10
Senior Member
Posts like a Northstar
Thread Starter
Join Date: Dec 2006
Location: SW Florida
Posts: 699
Likes: 0
Received 0 Likes
on
0 Posts
This is the only piece that allows the light the shine through, so I taped and cut with a razor around everything..end result wasn't 100% perfect, but it turned out pretty good!