Getting back to it.....
 06-30-2007, 11:06 PM
#1
Junior Member
Posts like a Ricer Type-R
Thread Starter


GP HUD Pod. Don't like it on the dash. Still have two more gauges to install. Want them somewhat hidden, but visible.
Peepo git to gess where I'm gonna put 'em.
Second pic is for Karl......


Also mounting my QTP controller where the old celly mount used to be.
Peepo git to gess where I'm gonna put 'em.
Second pic is for Karl......
Also mounting my QTP controller where the old celly mount used to be.
 06-30-2007, 11:21 PM
#2
Senior Member
Certified Car Nut

Ever considered doing a column mount between the wheel and the dash? You could sneak one on each side of it, visually on each side of the speedo.
Otherwise I'd guess on the left between the door/left dash.
Otherwise I'd guess on the left between the door/left dash.


 07-01-2007, 09:07 AM
#6
Junior Member
Posts like a Ricer Type-R
Thread Starter
That damn box of yours came in pretty handy......again! 
Yes, it'* going to the left of the radio in the 'armpit' of the lower dash. Right in my line of sight, but not overly obvious. Just gotta figure out my final mounting. I have a couple ideas to play with today.
Yes, it'* going to the left of the radio in the 'armpit' of the lower dash. Right in my line of sight, but not overly obvious. Just gotta figure out my final mounting. I have a couple ideas to play with today.
 07-01-2007, 08:19 PM
#8
Junior Member
Posts like a Ricer Type-R
Thread Starter
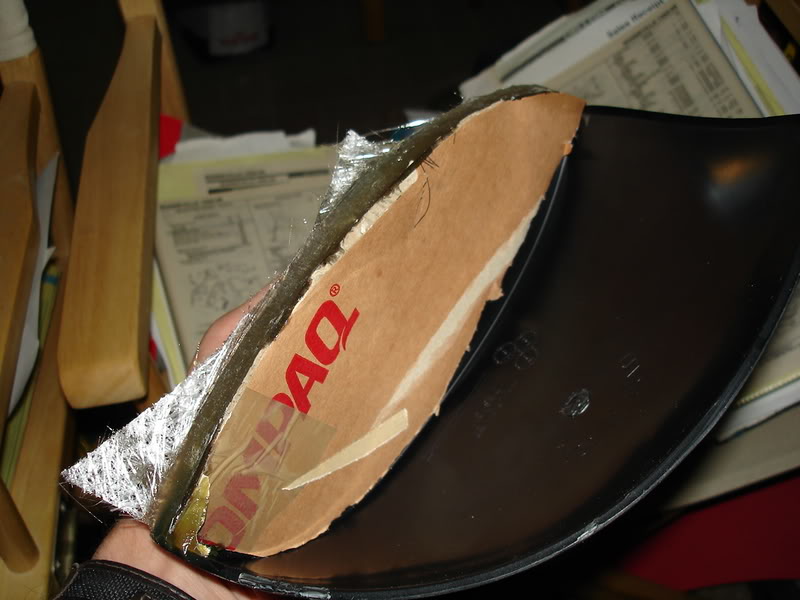
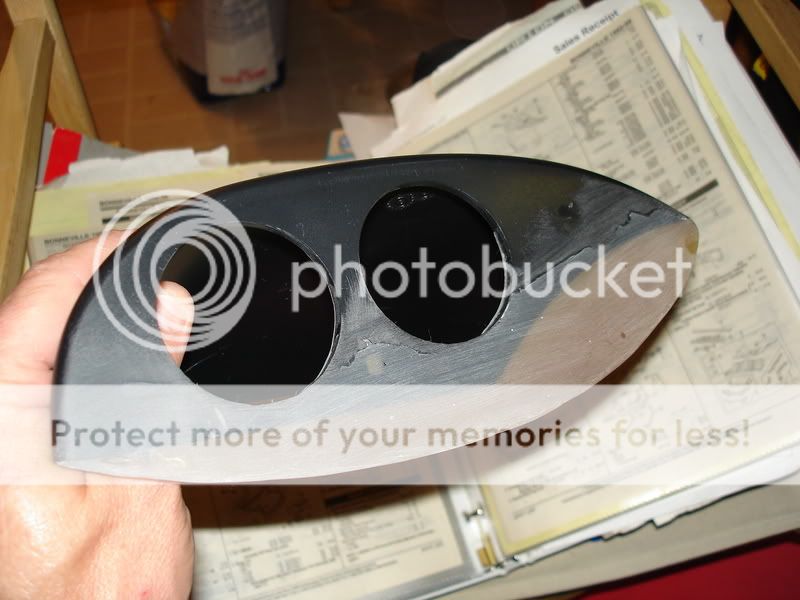
Fiberglass and glazing done:

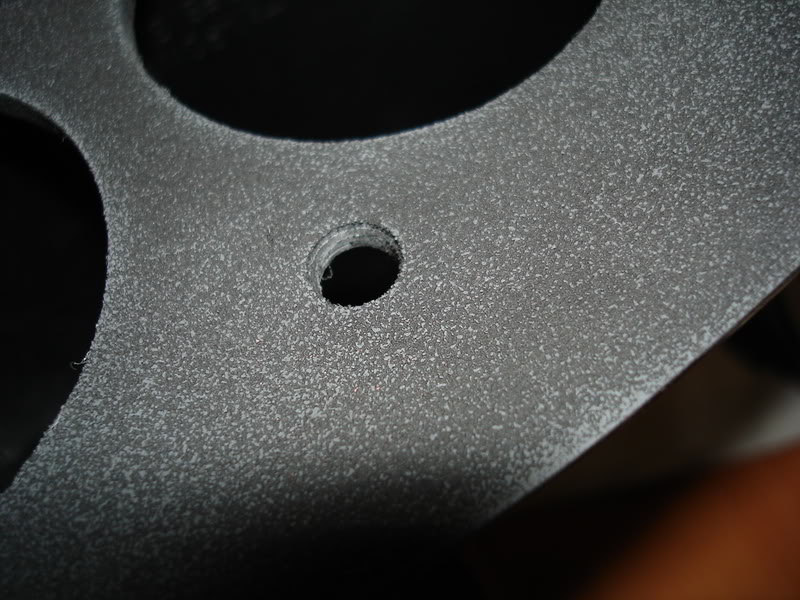
Holes for memory/recall buttons and program mode LED drilled, texture done:


Texture coat wet-sanded to 'knock it down':

Inside view showing switch 'pockets' I ground in the back face, and bracket fiberglassing:

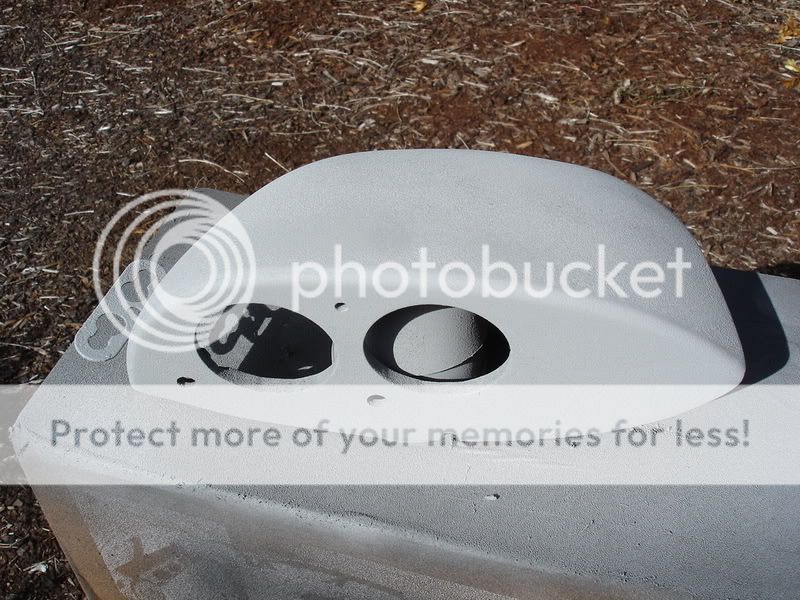
Off to primer and paint.......
Holes for memory/recall buttons and program mode LED drilled, texture done:
Texture coat wet-sanded to 'knock it down':
Inside view showing switch 'pockets' I ground in the back face, and bracket fiberglassing:
Off to primer and paint.......
07-01-2007, 09:50 PM
#9
Junior Member
Posts like a Ricer Type-R
Thread Starter
Cosmetics done:


Still have the spaghetti to deal with:

This is the modified RAZR mount just to the left of the stereo for the QTP exhaust cutout controller:


With a little creativity and patience, you can do anything you want.
Still have the spaghetti to deal with:
This is the modified RAZR mount just to the left of the stereo for the QTP exhaust cutout controller:
With a little creativity and patience, you can do anything you want.

