Appearance Fixing (56K no chance) (Daily updates) 1/2 DONE!
 07-19-2006, 07:30 PM
#1
Senior Member
True Car Nut
Thread Starter

Join Date: Aug 2005
Posts: 5,798
Likes: 0
Received 0 Likes
on
0 Posts

As alot of you know (from my "Something dont seam right" thread) that i have FINALLY started the bodywork and paint on my car  so i desided to start a new thread about it that i will be constantly updating as the work progresses, so that you all can see what actually goes into the repair and paint of a car
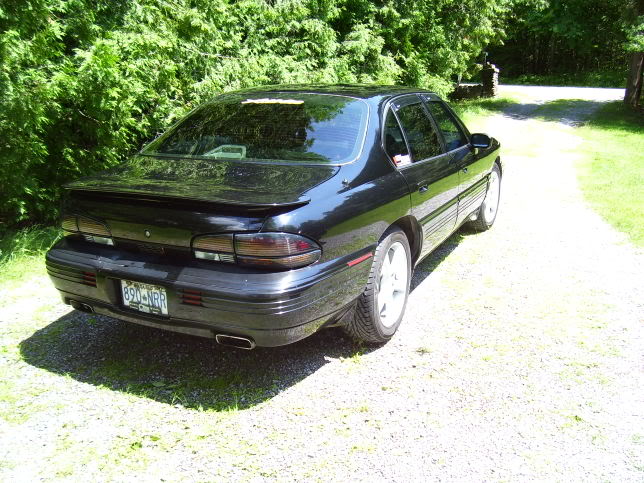
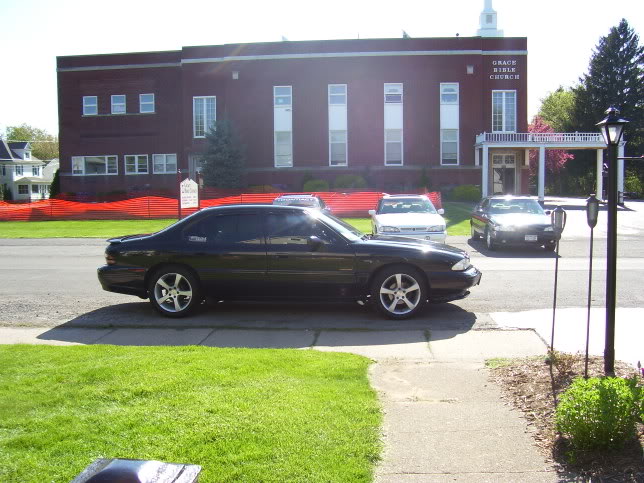
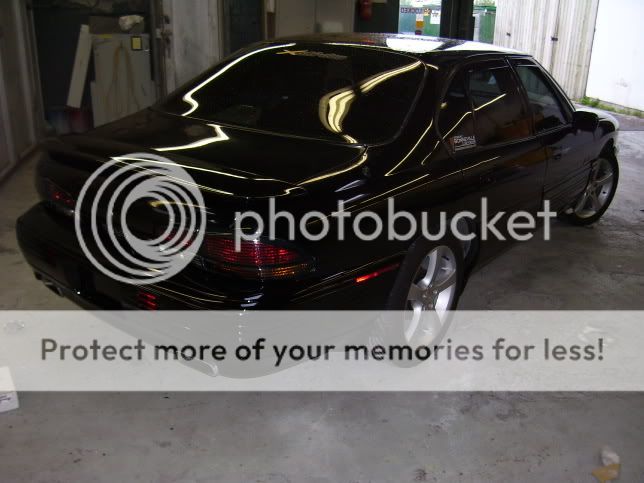
Ill start off with what the car looked like prior to any work


Now some of what i have done thuse far
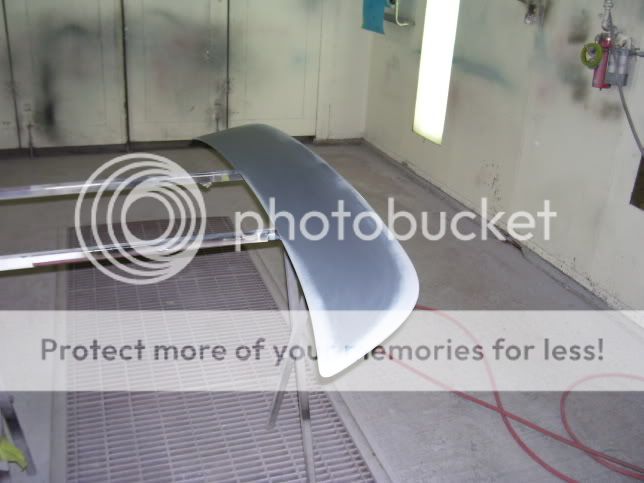
removed and sanded off all damaged paint from rear spoiler

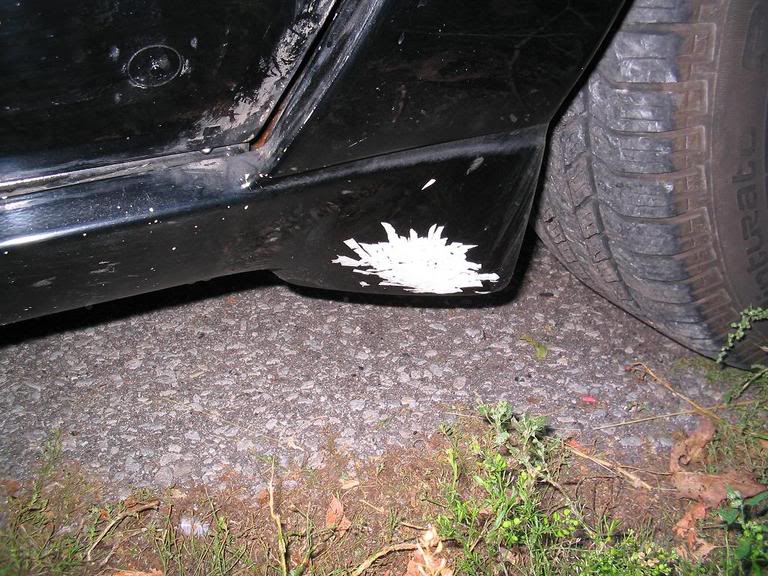
Primed ones and sanded only to find that there was a wavy section throughthe middle (the white parts)

primed again and final sanded starting with 320grit finishing with 800grit ( all the primer in this thread will be done that way

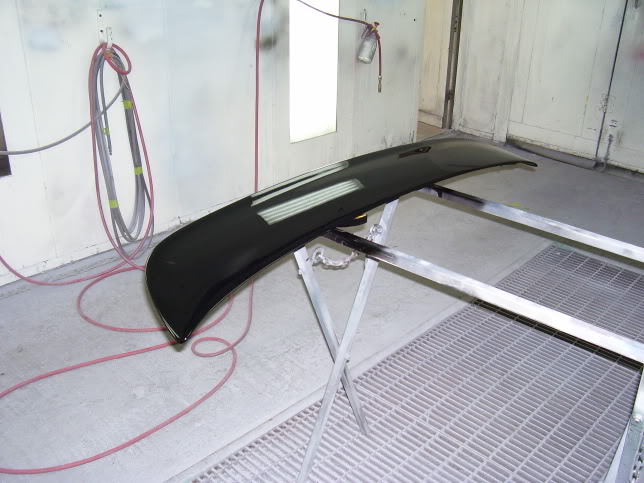
In the booth cleaned and ready to paint
PAINTED


Rear bumper after repair and first priming (sorry for no pics of the repair process)
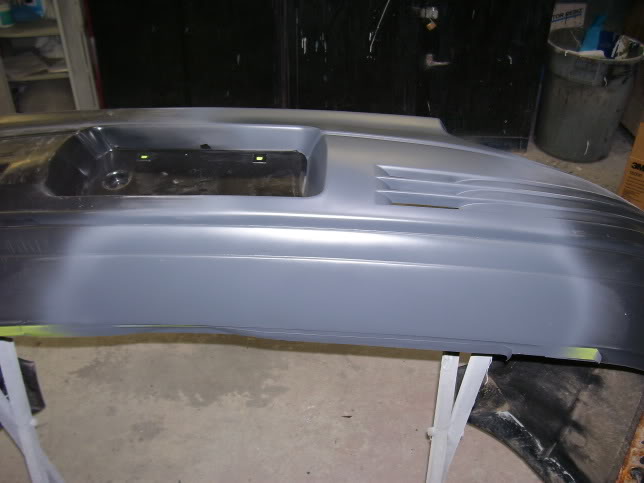

Im my case the painter who did the bumper last time did not prep it correctly and that paint was all removed with a preser washer (most will not do that)

After that primer was sanded smooth the whole bumper was then scuffed and primed compleatly (this was to insure proper adhesion over the raw plastic (oddly those pics didnt turn out so ill have to take them again tommorow :?
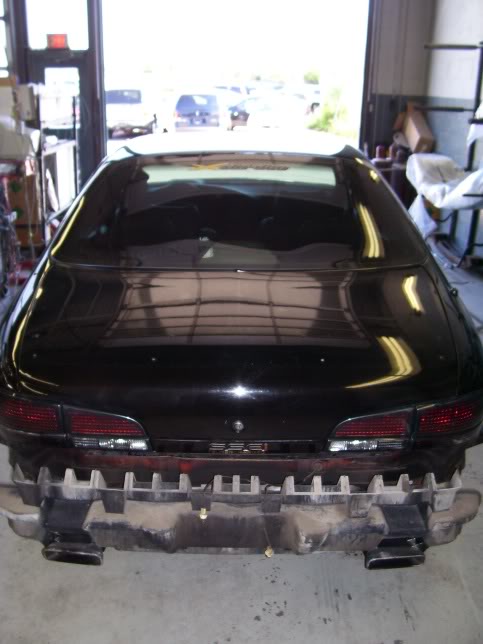
I then installed the rear spoiler and rear bumper because i had to get home some how, and the real work will not start till after i get back from next weeks Vacation


More inept fixs that will have to be addressed later


so i desided to start a new thread about it that i will be constantly updating as the work progresses, so that you all can see what actually goes into the repair and paint of a car Ill start off with what the car looked like prior to any work
Now some of what i have done thuse far
removed and sanded off all damaged paint from rear spoiler
Primed ones and sanded only to find that there was a wavy section throughthe middle (the white parts)
primed again and final sanded starting with 320grit finishing with 800grit ( all the primer in this thread will be done that way
In the booth cleaned and ready to paint
PAINTED
Rear bumper after repair and first priming (sorry for no pics of the repair process)
Im my case the painter who did the bumper last time did not prep it correctly and that paint was all removed with a preser washer
(most will not do that)After that primer was sanded smooth the whole bumper was then scuffed and primed compleatly (this was to insure proper adhesion over the raw plastic (oddly those pics didnt turn out so ill have to take them again tommorow :?
I then installed the rear spoiler and rear bumper because i had to get home some how, and the real work will not start till after i get back from next weeks Vacation
More inept fixs that will have to be addressed later


 07-20-2006, 12:35 AM
#5
Senior Member
Posts like a Corvette

Join Date: Mar 2006
Posts: 1,356
Likes: 0
Received 0 Likes
on
0 Posts
I think I'm nuts.. but I'm curious to see how an SSEi with those wheels would look.. ALL IN GRAY PRIMER.. 
That wing is gorgeous.
Good luck, peter. That car is a diamond in the rough
That wing is gorgeous.
Good luck, peter. That car is a diamond in the rough
07-20-2006, 10:14 PM
#6
Senior Member
True Car Nut
Thread Starter
Join Date: Aug 2005
Posts: 5,798
Likes: 0
Received 0 Likes
on
0 Posts
Update time
Rear bumper is now finished!
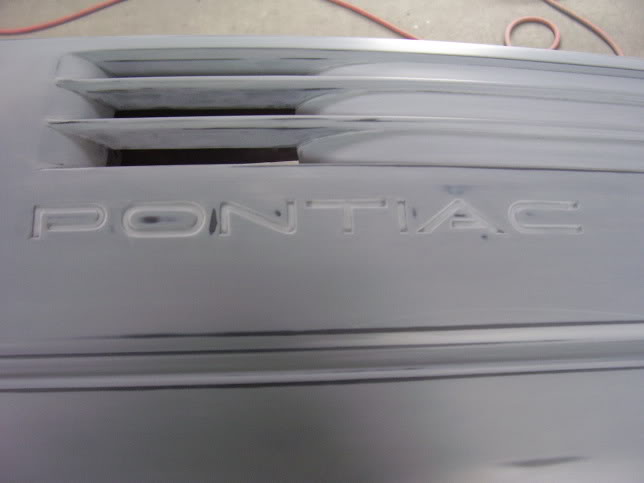
Here it is fully primed and ready to be sanded down
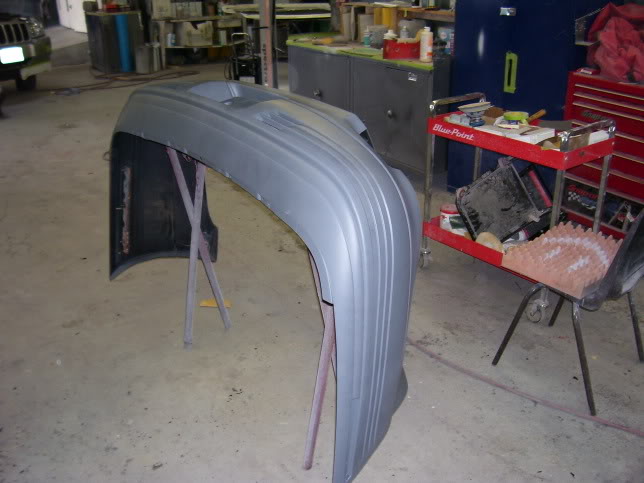
And here it is after 2.5-3 hours of sanding F*** these bumpers have a LOT of contures and in the booth to be painted


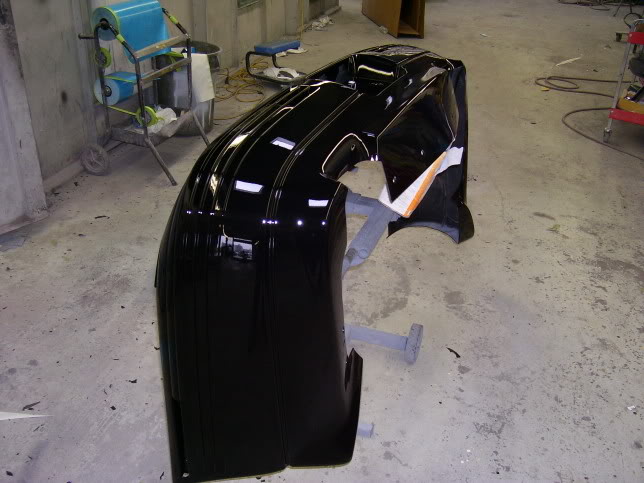
First step the application of Polyuroxy wet-on-wet sealer


Unfortunatly i got ahead of myself and forgot to take pictures of the base stage but here it is after being baked


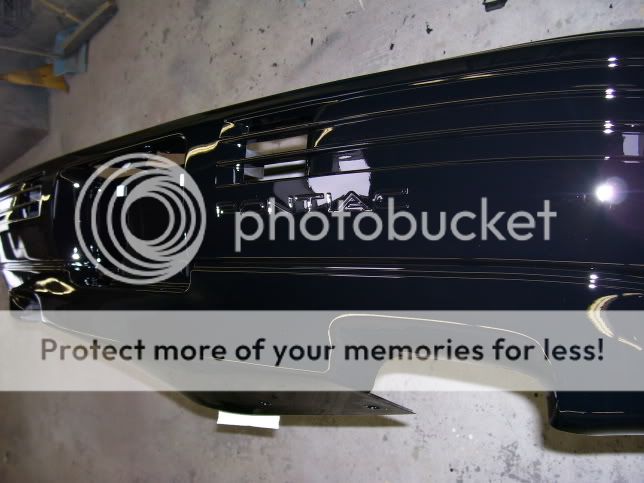
Now I installed it, I had to replace alot of worn out or missing Fastners so now the bumper fits much snugger so im really happy about that. I also took a pair of Channel locks and squesed the two metal brackets with the mounting studs flatter so that the bumper didnt sag on the to sides (common on our cars, and most noticeable just under the tail light @ the quarter)

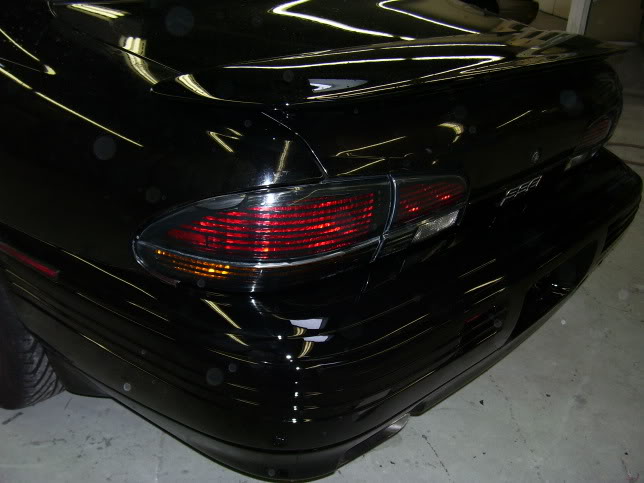
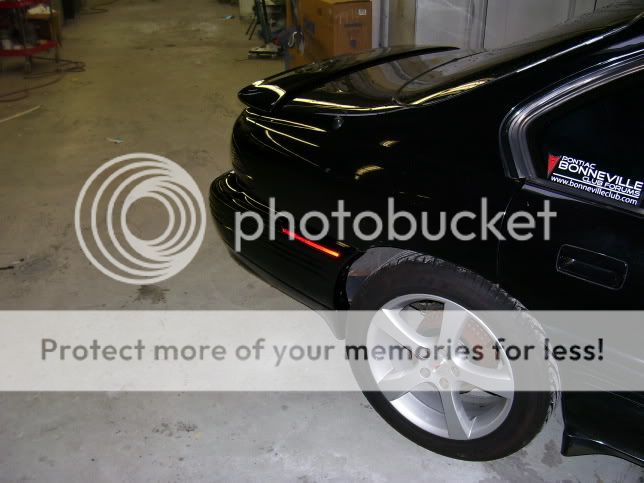
take note of the better alignment

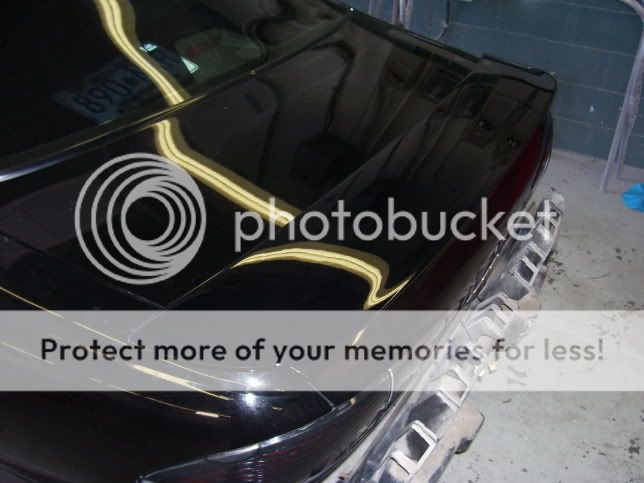
and how the fresh paint looks incomparison the theold paint (camers flash make it much more drastic)
Rear bumper is now finished!
Here it is fully primed and ready to be sanded down
And here it is after 2.5-3 hours of sanding F*** these bumpers have a LOT of contures
First step the application of Polyuroxy wet-on-wet sealer
Unfortunatly i got ahead of myself and forgot to take pictures of the base stage
but here it is after being bakedNow I installed it, I had to replace alot of worn out or missing Fastners
take note of the better alignment
and how the fresh paint looks incomparison the theold paint (camers flash make it much more drastic)


 07-21-2006, 12:55 AM
#10
Senior Member
True Car Nut
Thread Starter
Join Date: Aug 2005
Posts: 5,798
Likes: 0
Received 0 Likes
on
0 Posts
Originally Posted by wjcollier07
OMG...that is INSANE how good that looks!!!!!
That is the farthest thing from half assed I have EVER seen!!!!!!

That is the farthest thing from half assed I have EVER seen!!!!!!
And you know what, the before pics dont even do it justice, that bumper was a F***ing mess the more i fixed it the more i found wrong with it