
Aiming GXP Foglamps
 11-28-2006, 01:55 PM
#1
Senior Member
Posts like a 4 Banger
Thread Starter

Join Date: Jul 2006
Posts: 127
Likes: 0
Received 0 Likes
on
0 Posts

The GXP has really nice projector foglamps. But I noticed that mine were aimed way too low. I also noticed they were very loose. The foglamps have an upper mount with bolt that is pretty solid. But on the bottom, then just have 2 plastic push in fasteners per side and they don�t hold very well. So here is what I did to correct it.
On the underside of the front facia directly below the foglamp, there are two holes with plastic fasteners that attach the lower foglamp bracket to the fascia. The rearmost hole is elongated. I elongated it a little further toward the rear (about ��) so that I could get a bolt to just fit BEHIND the end of the foglamp bracket instead of going through the rear hole in the bracket. To get the bolt in you have to push the foglamp bracket forward, which aims the foglamp higher. I also notched the end of the foglamp bracket so that it would not slip sideways off the bolt. I used large washers to spread the clamping load.
The foglamps are now aimed nearly parallel to the ground. I included a few pics of the beam pattern (sorry for the photo quality).
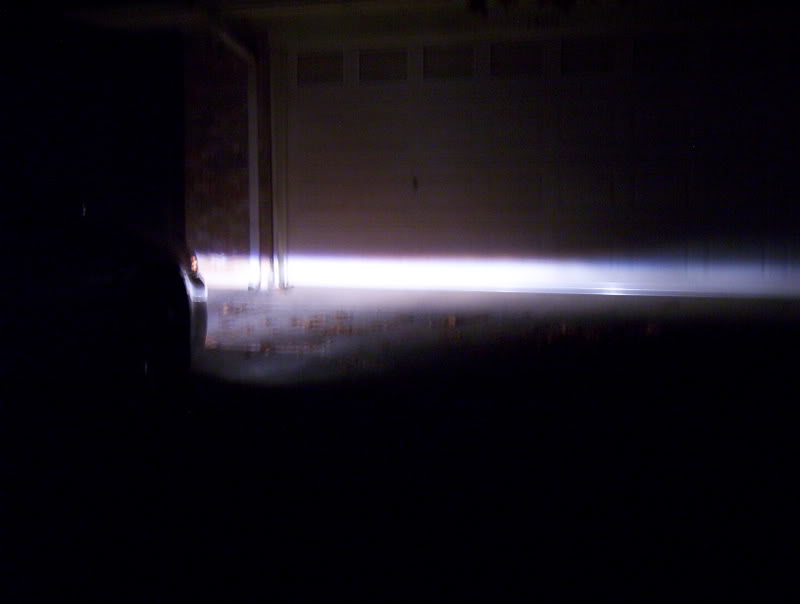
You can see the color shift at the upper cutoff, just like the vehicles with factory xenon headlights. If you get in front of the vehicle down low you can see the color shift to purple (wear dark sunglasses though). I think switching from 55w to 110 watt bulbs would make these foglamps wicked, although that would require a relay and heavy gauge wiring.
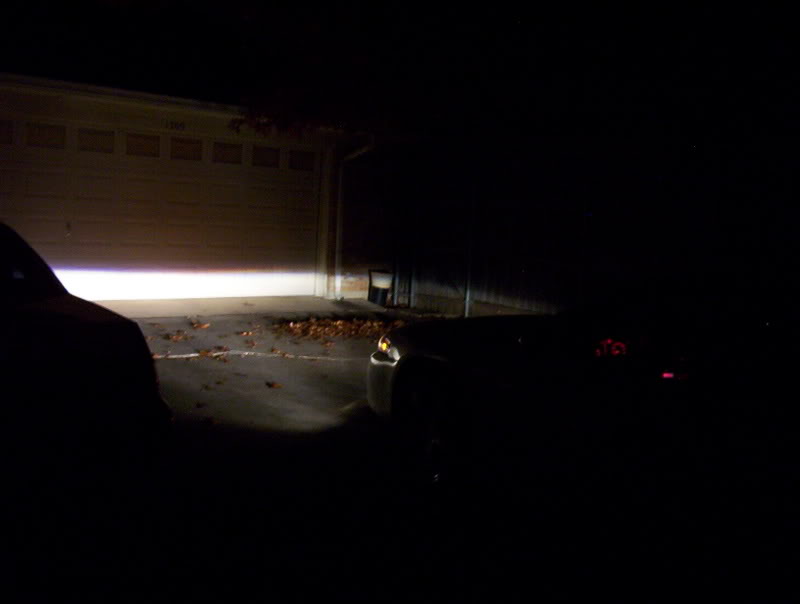
Keep in mind that as you are making adjustments to the foglamps, you will want to have them turned on and watch the beam pattern. The foglamps must be aimed slightly lower than parallel to the ground or you will blind oncoming vehicles if they are further down the road. In my case though, pushing the lower foglamp bracket as far forward as it could go aimed the lights just about perfectly.
In normal driving, there is definitely an improvement in visibility with the foglamps properly pointed.
There may be a better way to do this, like re-drilling the foglamp bracket. I didn�t want to have to remove the foglamps, and my method seems to work fine. If I run into any problems over time, I will let everyone know.
On the underside of the front facia directly below the foglamp, there are two holes with plastic fasteners that attach the lower foglamp bracket to the fascia. The rearmost hole is elongated. I elongated it a little further toward the rear (about ��) so that I could get a bolt to just fit BEHIND the end of the foglamp bracket instead of going through the rear hole in the bracket. To get the bolt in you have to push the foglamp bracket forward, which aims the foglamp higher. I also notched the end of the foglamp bracket so that it would not slip sideways off the bolt. I used large washers to spread the clamping load.
The foglamps are now aimed nearly parallel to the ground. I included a few pics of the beam pattern (sorry for the photo quality).
You can see the color shift at the upper cutoff, just like the vehicles with factory xenon headlights. If you get in front of the vehicle down low you can see the color shift to purple (wear dark sunglasses though). I think switching from 55w to 110 watt bulbs would make these foglamps wicked, although that would require a relay and heavy gauge wiring.
Keep in mind that as you are making adjustments to the foglamps, you will want to have them turned on and watch the beam pattern. The foglamps must be aimed slightly lower than parallel to the ground or you will blind oncoming vehicles if they are further down the road. In my case though, pushing the lower foglamp bracket as far forward as it could go aimed the lights just about perfectly.
In normal driving, there is definitely an improvement in visibility with the foglamps properly pointed.
There may be a better way to do this, like re-drilling the foglamp bracket. I didn�t want to have to remove the foglamps, and my method seems to work fine. If I run into any problems over time, I will let everyone know.

 11-28-2006, 02:20 PM
#3
Senior Member
Posts like a 4 Banger
Thread Starter
Join Date: Jul 2006
Posts: 127
Likes: 0
Received 0 Likes
on
0 Posts
When one of my factory bulbs burned out, I tried some aftermarket bulbs with blue tint. I had used them for about 6 months in a set of aftermarket foglamps with no problems. They lasted only about a week in the GXP before burning out. So I decided to just let the dealer replace the bulbs. They did not mention the aftermarket bulbs being installed.
The pics are with the stock bulbs. They do have a slight purple tint, but mainly it'* the projector that breaks the purple out.
The pics are with the stock bulbs. They do have a slight purple tint, but mainly it'* the projector that breaks the purple out.
11-28-2006, 07:08 PM
#4
Administratus Emeritus

Certified Car Nut
Nice tip Turbocoupe, Those plastic pins/poprivets are everywhere on the car and what a pain. I am always pounding them back in everywhere with the front end stiff from the bagstruts. Lost two altogether in the fender skirts. I'm thinking epoxy for them as they loosen.

Thread
Thread Starter
Forum
Replies
Last Post
cballweg
Bonneville GXP/ Northstar Powered Cars
2
10-14-2007 08:53 PM